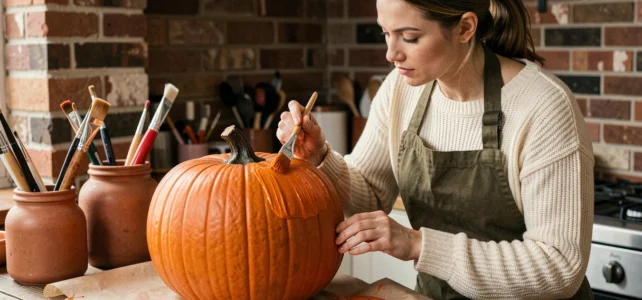
A pumpkin placed on newspaper, a half-open acrylic paint pot, and a brush that doesn’t glide well on the waxy skin of the fruit: we’ve all experienced that moment when the result looks nothing like what we had in mind. Pumpkin painting for Halloween seems simple, but a few preparation mistakes can turn the project into a chore. Here’s how to achieve a clean, durable result suitable for every situation.
Preparing the pumpkin’s surface before painting
The skin of a pumpkin is naturally covered with a fine waxy film that repels paint. If you apply the color directly, it beads up, dries unevenly, and chips off within a few days.
Start by washing the pumpkin with warm water and a little dish soap, then dry it completely. A light pass with fine-grit sandpaper (like 220) on the areas to be painted is enough to create a grip. The surface becomes slightly matte to the touch, indicating that the wax has been removed.
For those looking for tips for painting a pumpkin with an even smoother finish, a thin layer of white gesso (the kind used on artist canvases) works very well. It evens out the base color and allows light shades to pop without needing three coats.
Light sanding and complete drying are crucial for the paint’s adherence. Without this step, even the best acrylic will eventually peel off.
Acrylic paint, spray, or children’s paint: what to choose based on use
The choice of paint depends less on the brand than on two concrete parameters: who is painting, and where the pumpkin will be displayed.
Decorative pumpkin indoors
Tube or pot acrylic paint remains the best compromise. It covers well, dries quickly, and can be cleaned with water before drying. You can mix colors freely, work with a flat brush for solid areas, or a fine brush for details.
Spray paint (aerosol) gives a very uniform result, ideal for solid colors. Protect the stem with masking tape and apply two light coats from a distance rather than one thick coat that would run.
Activity with children
Safety recommendations regarding paints used by children have become stricter. A simple “non-toxic” label on a pot is not always sufficient. Prefer paints with verifiable normative labels (toy compliance, for example) and check the complete ingredient list rather than relying on attractive packaging.
Avoid fancy kits that are not explicitly intended for children. Not all classic craft paints meet the same composition requirements.
Outdoor displayed pumpkin
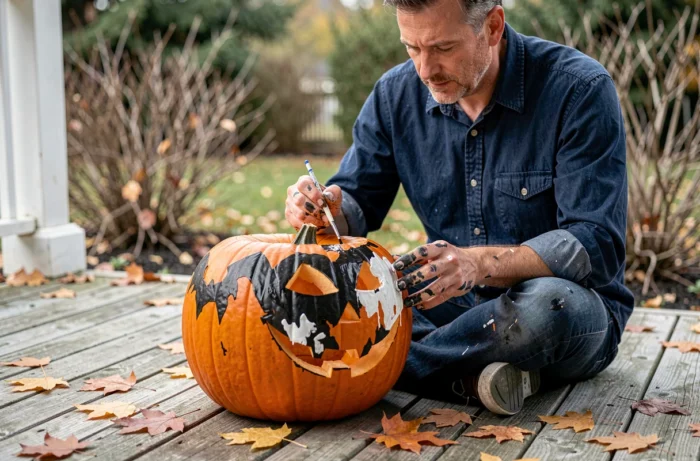
Moisture and temperature variations weaken the paint. A layer of matte or satin acrylic varnish as a finish protects the decoration. Apply the varnish once the paint is perfectly dry, at least a few hours after the last coat.
Decoration techniques that differ from the classic brush
The brush is not the only tool available. Varying techniques allows for very different results without any particular artistic skill.
- A stencil cut from cardboard: fix the shape onto the pumpkin with repositionable tape, dab the paint with a sponge, then remove the stencil. The pattern is sharp even with unsteady hands.
- Paint pouring: pour several fluid colors on top of the pumpkin and slowly rotate it to let the paint flow along the natural grooves. The result is abstract, and each pumpkin becomes unique. Work on a protected surface, as the paint flows abundantly.
- Finger or stamp prints: particularly suited for children, they allow for creating faces, repetitive patterns, or textures without any specialized materials. A finger dipped in white paint gives a perfect dot for eyes or polka dots.
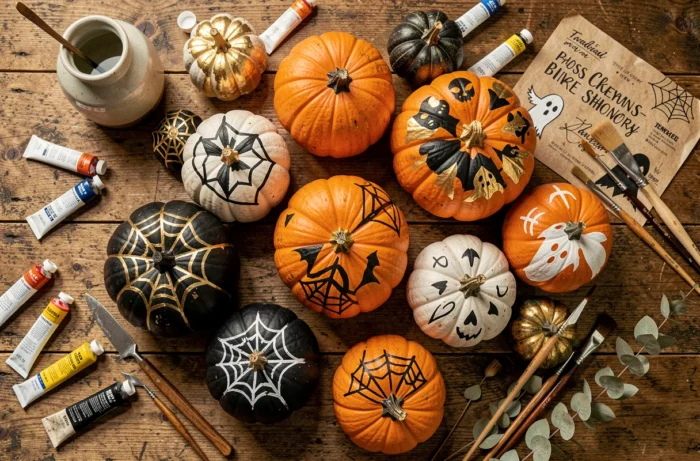
For geometric patterns (stripes, chevrons, triangles), fine masking tape remains the most reliable ally. Stick it on the dry pumpkin, paint over it, and remove the tape before it is completely dry for crisp lines.
End of life for the painted pumpkin: compost, animals, and sorting
We rarely think about it when decorating, but a painted pumpkin cannot be composted directly. Acrylic paint, even labeled water-based, contains synthetic binders that do not belong in a home composter.
Before throwing the pumpkin in the organic waste bin or composting it, the paint layer must be removed. In practice, cut off the painted parts with a knife and dispose of them in the regular trash. The unpainted remainder can go in the compost.
Never give a painted pumpkin to farm animals. The pigments and additives in the paint are toxic if ingested. If the pumpkin has only been decorated with natural elements (glued leaves, string), the risk disappears.
For those looking to simplify the end of life, one option is to use only gesso and food pigments. Feedback varies on this point depending on the brands, but some compositions allow for composting without prior sorting. Just check the product sheet on a case-by-case basis.
One last practical point: a painted but uncarved pumpkin lasts significantly longer than a sculpted pumpkin. The intact skin blocks mold and bacteria. Therefore, you can prepare your Halloween decoration well in advance and keep it for several weeks indoors without unpleasant surprises.